
Mercedes-Benz W176 W117 X156 original car comes with a small 7inch/8.4inch display and less functional, Many car owner want to upgrade their screen and use currently very popular Android large screen navigation, if you want to DIY installation or UPGRADE it by yourself, today we are happy to introduce how to retrofit the original small screen into 12.3/10.25 inch Android screen and retain all the functions of the original car.
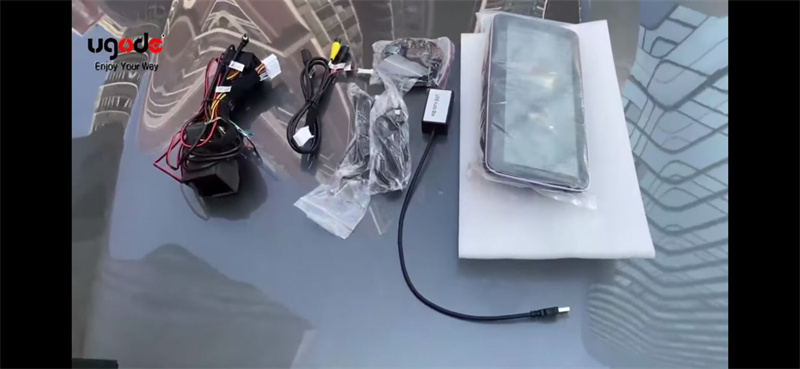
Ugode 12.3 | 10.25inch display usually contains android screen,GPS antenna,usb audio box (for NTG5, NTG4.5 don’t need it) , main harness,usb cable, 4G antenna(for some area) as shown below.
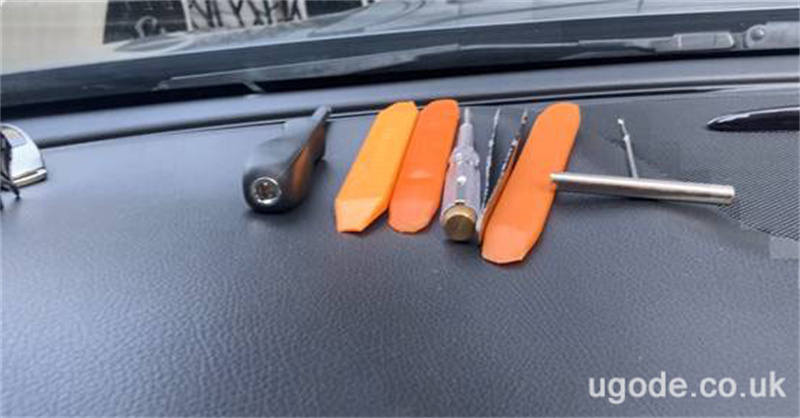
You need to prepare these tools before the installation begins, it is easy to get them on line.
Now let’s start the installation for the Mercedes Benz GLA/CLA/A class cars with NTG5 radio !
Remove the two screws at the back of the display with a hexagonal screwdriver.
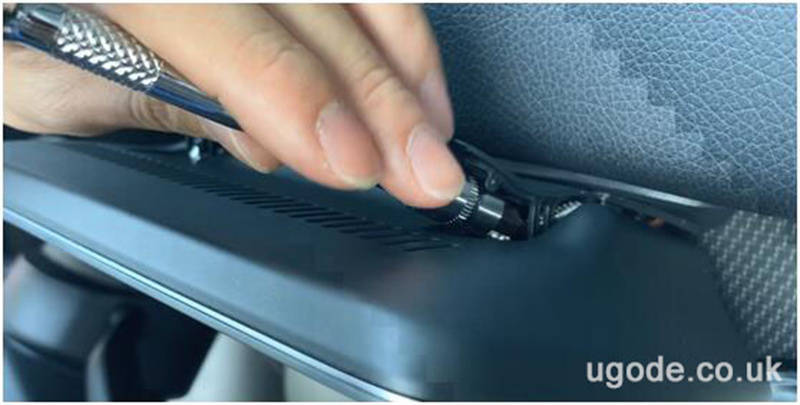
Drag the screen upward with both hands, remove the two plugs behind the screen and take monitor out.
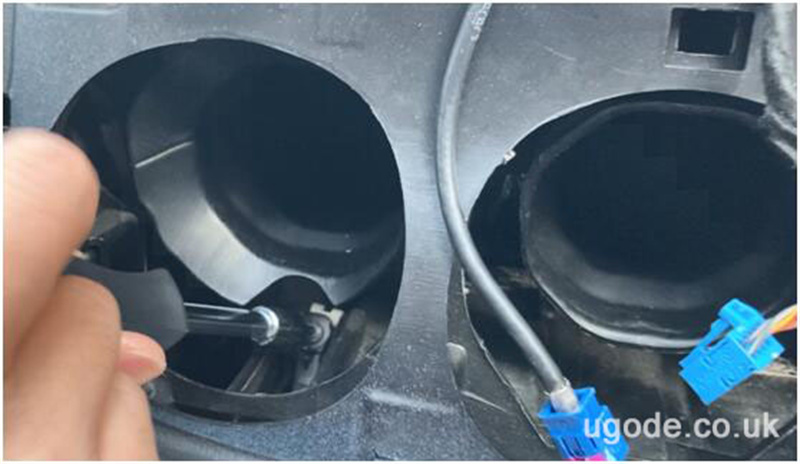
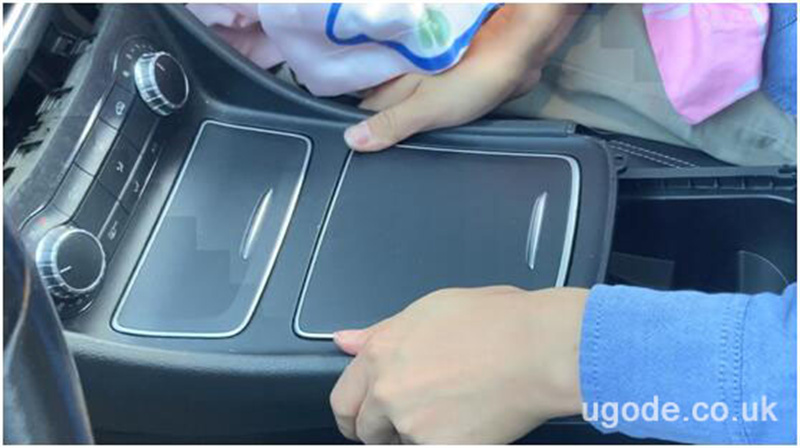
Use screwdriver to pry up the original bracket cover, and remove the 3 screws as below photo with a hexagonal.
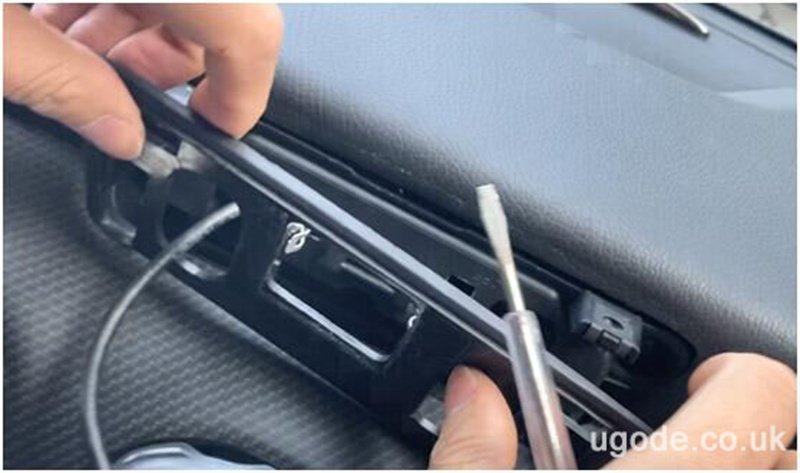
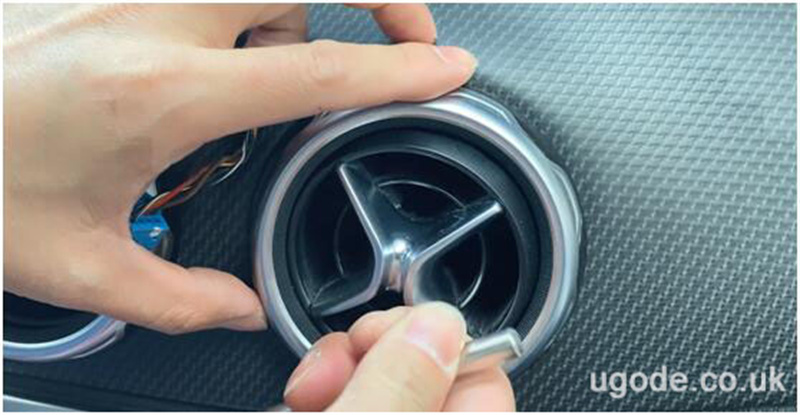
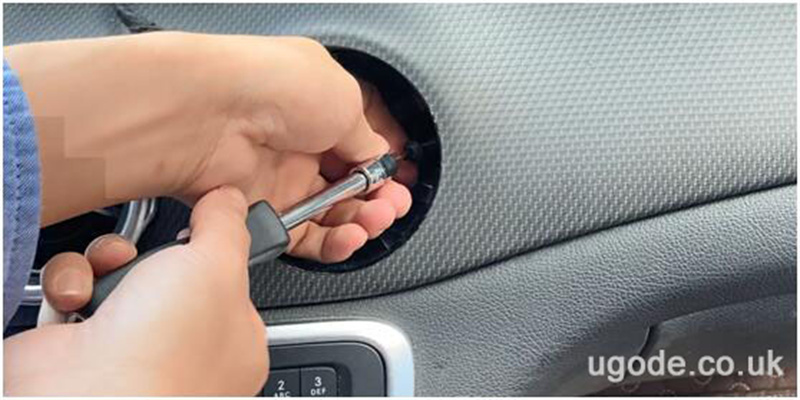
Pull out the third A/C vent outlet, then remove the screws inside.
Use a plastic pry knife to pry up the central panel and then take off.
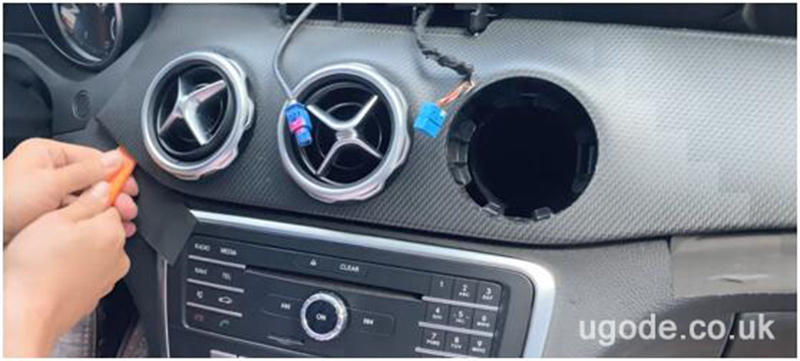
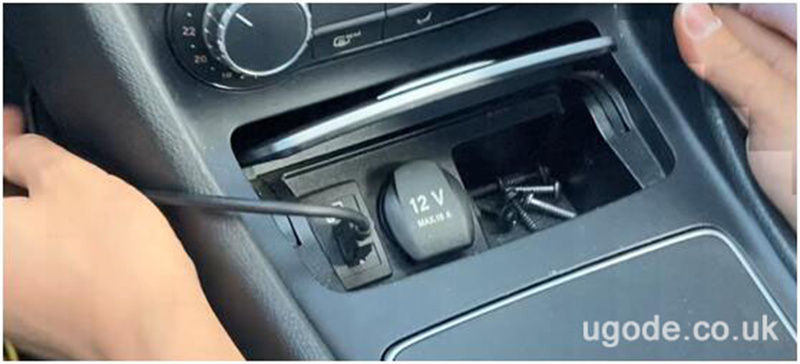
the screw inside first and third air outlet should also be removed,
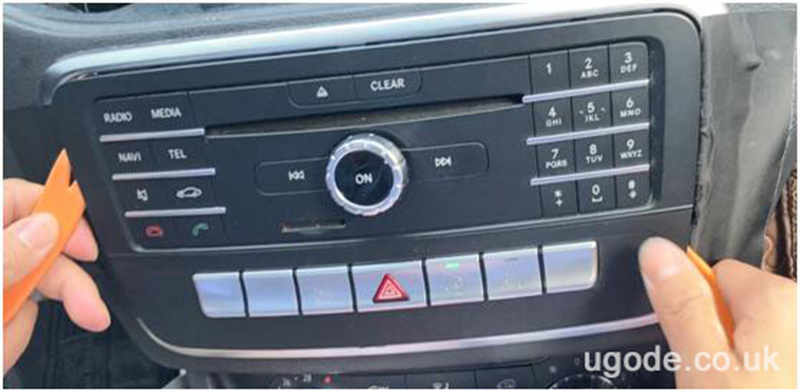
pry up the panel at the edge of the autoradio
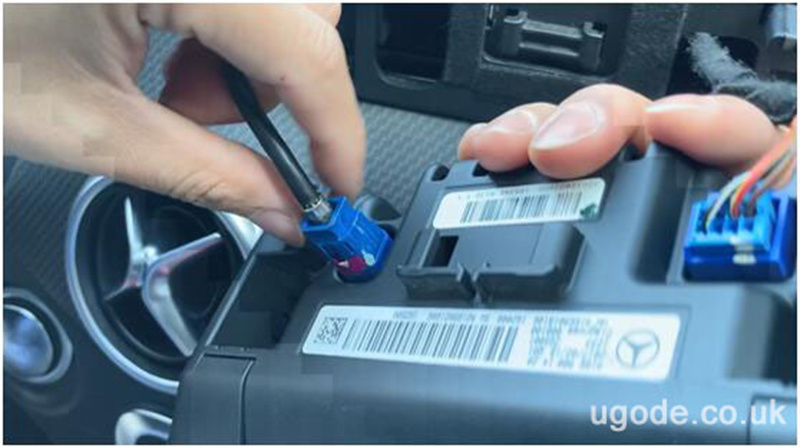
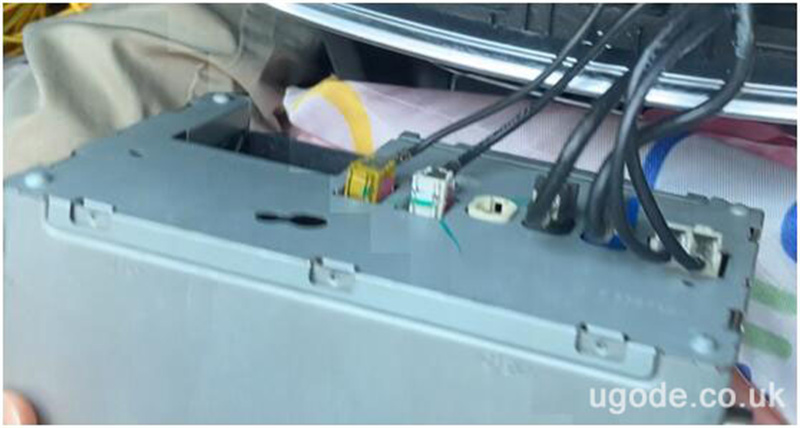
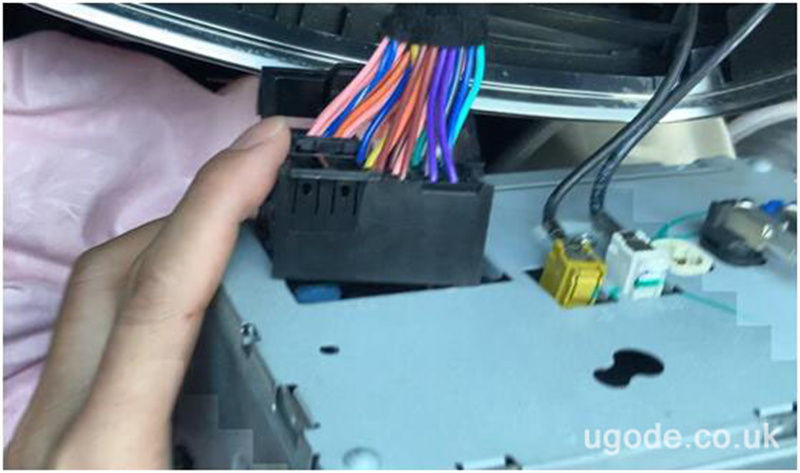
Take out OEM radio,pull small plug off from headunit panel
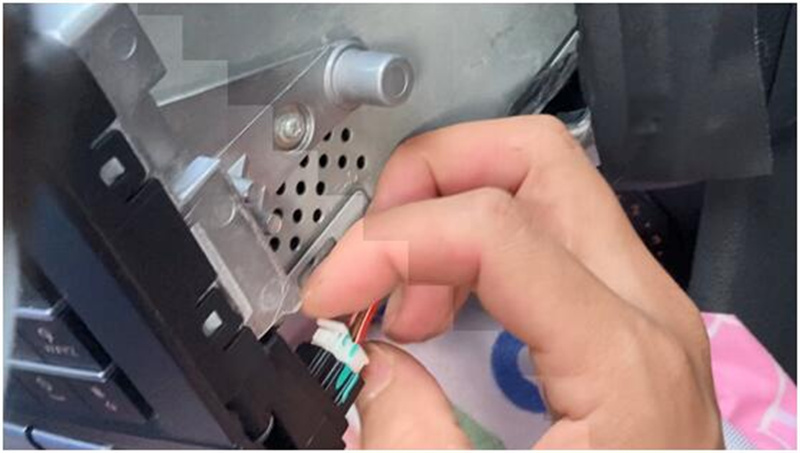
Unplug the power cable on CD, do not unplug the other cables.
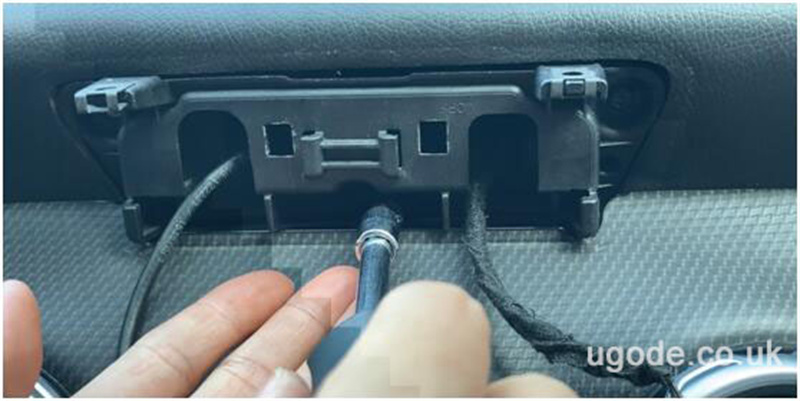
Cross through the plugs of the power cable, usb cable, GPS antenna etc that comes with the android navigation through the holes inside car to the original display place .( There are specific operations in this link : https://youtu.be/rjrnYb_4ies)
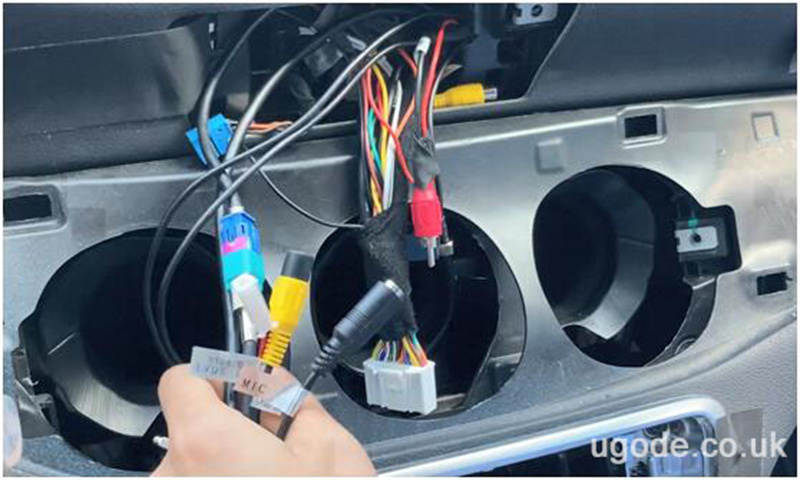
Carefully pull up the center console panel slowly, then put the audio box inside and plug USB audio box on power cable to car USB port(NTG4.0/4.5/4.7: plug AUX/AMI into car)
PLug android power cable to CD
Connect LVDS,camera etc.
After all the required cables between the Android display and the CD have been connected ,test functions first, if there is no problems, then reinstall the removed panels back.One thing to note when you reintall the CD need to adjust the main Cable to the right position, otherwise the CD will be very difficult to intall back.

Here are a few points to pay attention to when connecting the cables:
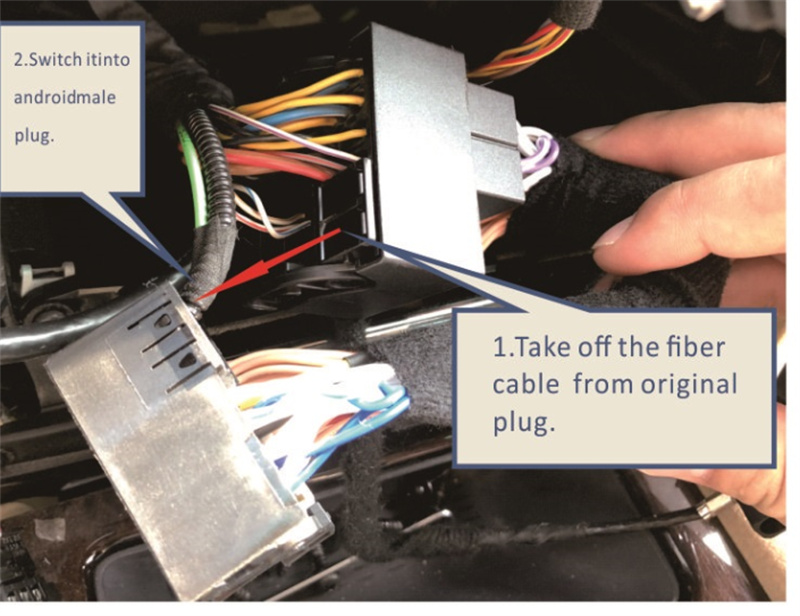
No.1 If your car has optic fiber, need to relocate it to android plugs while installation, or else the problems maybe: No sound, No signal, or steering wheel control and knob control not working etc(refer to https://youtu.be/XEd1lTV1Cjc)
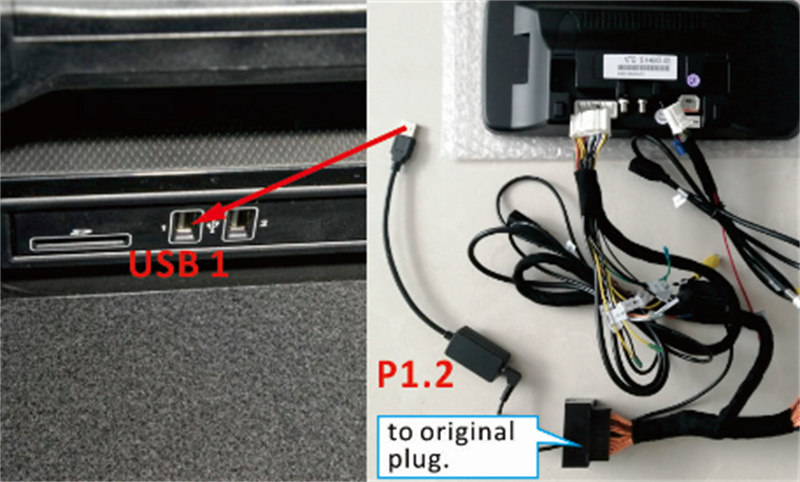
No.2 Plug the USB Audio box to the 3.5mm cable from the android harness and plug the other end to car’s aux usb, if your A class car radio is NTG4.5, no USB audio box in package, no need to care about this step.
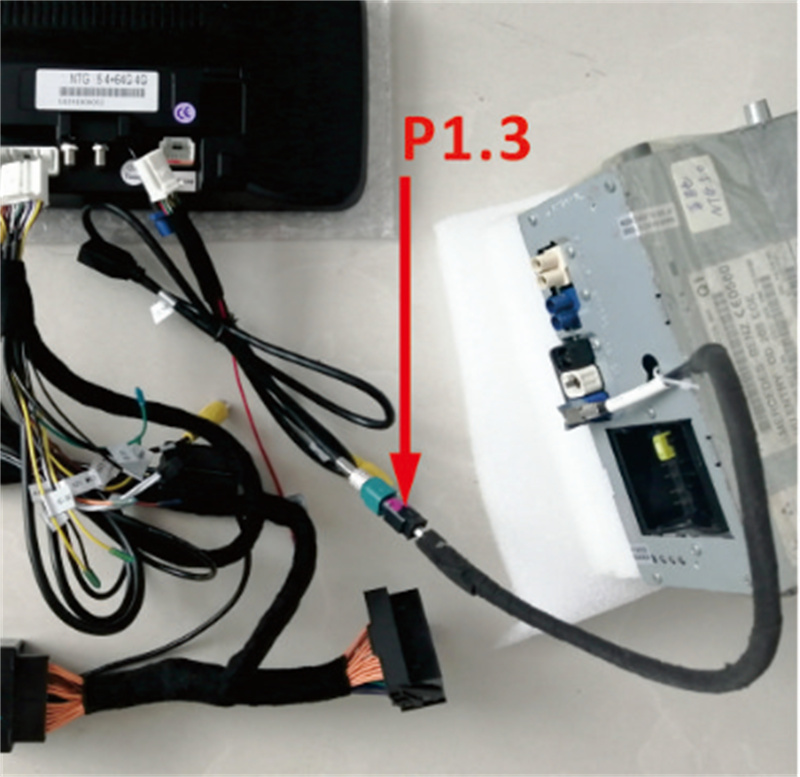
No.3 Plug original LVDS from the dash to LVDS port of the Android screen
No.4 Rear Camera connection : power to “ CAM 12V”; yellow plug to the “САМ CVBS In ” on power cable(if it is OE camera, just need to choose OE camera in camera type in android setting)

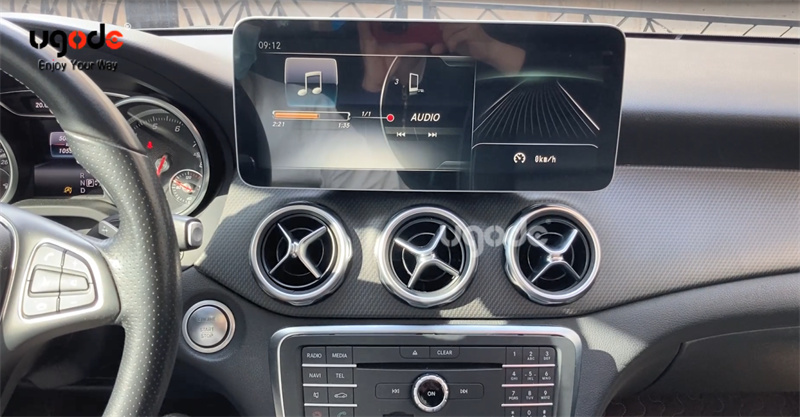
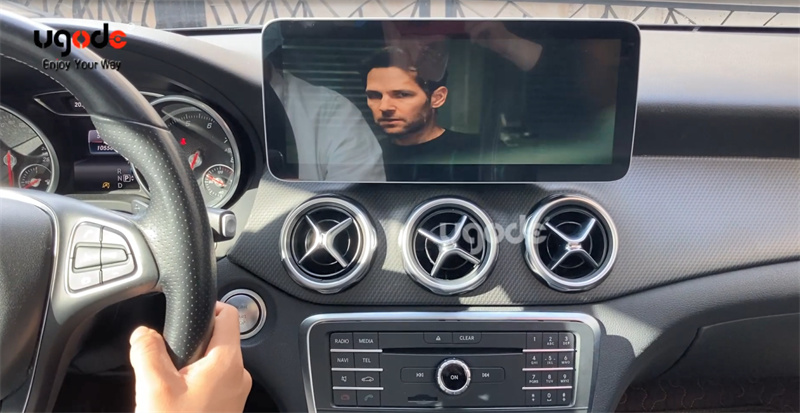
This is what it looks like after installation, please check if the sound and display are normal, if not normal you need to set some parameters on the android screen, there is setting guide in package, please check it. if there is no problem, you can enjoy your way with music and gps navigation through Android Auto Apple Carplay Multimedia player.
if the installation is difficult ? Maybe you can do it by yourself.
The following video show how it works on car: https://youtu.be/yxUiwOc9N9Y
Post time: Sep-05-2022